Understanding the Disposition System
What dispos are, how they work, and what each one means
Lead Confirmations
Automatic texts sent after booking
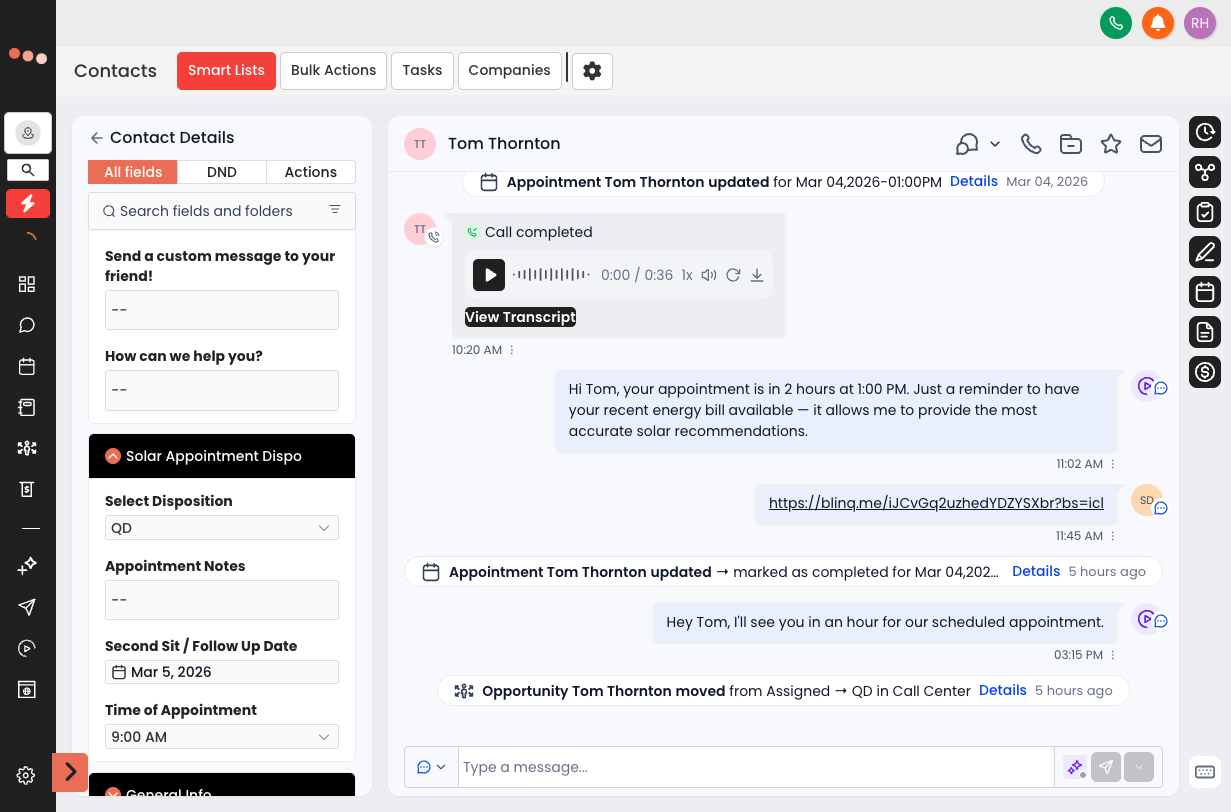
When a rep books an appointment in Opscotch, the system automatically sends the lead two text messages. The rep doesn’t have to do anything — it’s fully handled.
As soon as the rep marks the appointment booked, the lead receives a confirmation SMS including the appointment date/time and instructions to have a recent electric bill ready.
Two hours before the appointment, the lead automatically receives a reminder SMS. This reduces no-shows without the rep doing anything manually.
Creating a New User Account
Onboarding a new rep or team member into Opscotch
Do this whenever you’re onboarding a new rep or team member into Opscotch.
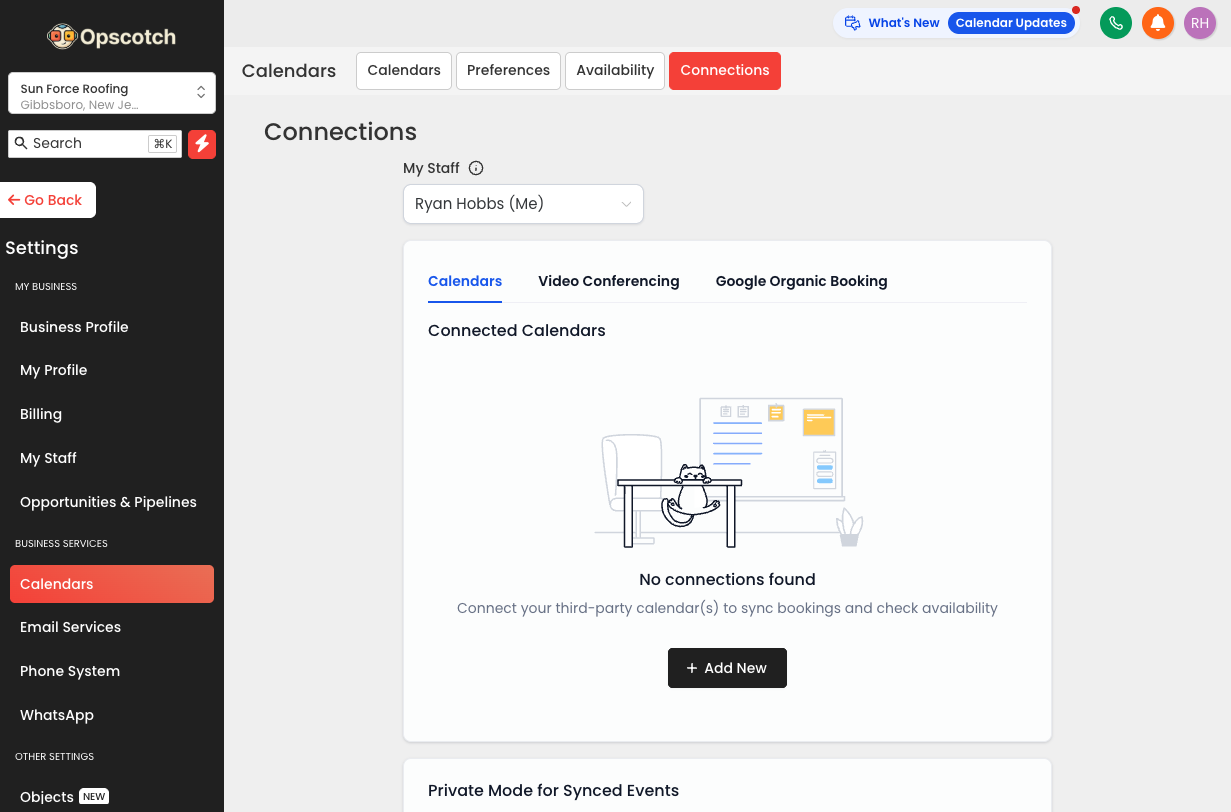
Linking a Rep's Google Calendar
Enable conflict checking and two-way sync
Every rep should link their personal Google Calendar to Opscotch. This enables conflict checking (won’t double-book) and two-way sync (appointments appear in Google automatically).
| Problem | Fix |
|---|---|
| Events not showing in Google | Check Linked Calendar is set. Make sure writer access was granted. |
| Rep is getting double-booked | Make sure personal calendar is added as Conflict Calendar |
| Integration shows red banner | Click Reconnect and re-grant all permissions |
| Wrong Google account connected | Disconnect, log out of all Google accounts, reconnect with right one |
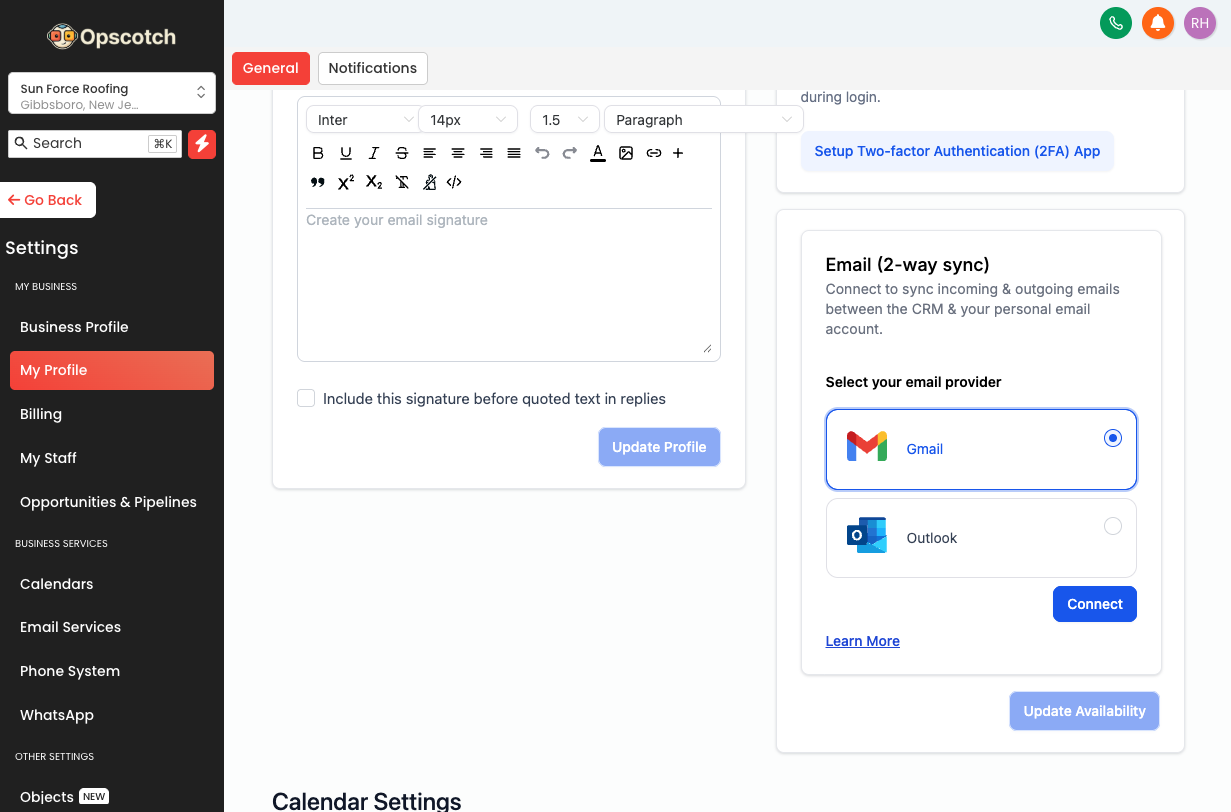
Syncing a Rep's Email
Keep all lead email conversations inside Opscotch
Syncing a rep’s email allows all email conversations with leads to appear inside Opscotch. Everything stays in one place.
| What Happens | Where It Shows |
|---|---|
| Rep sends email from Opscotch | Gmail Sent + Opscotch conversation |
| Lead replies to rep | Inside Opscotch conversation thread |
| Rep emails directly from Gmail | Also syncs into Opscotch |
Buying a Phone Number
Give every rep their own dedicated Opscotch number
Each rep should have their own dedicated Opscotch number. This keeps their personal cell private and makes sure all calls and texts route through the system.

Assigning a Phone Number to a Rep
Route inbound calls directly to the right person
Once a number is purchased, you assign it to a specific rep so all inbound calls route directly to them.
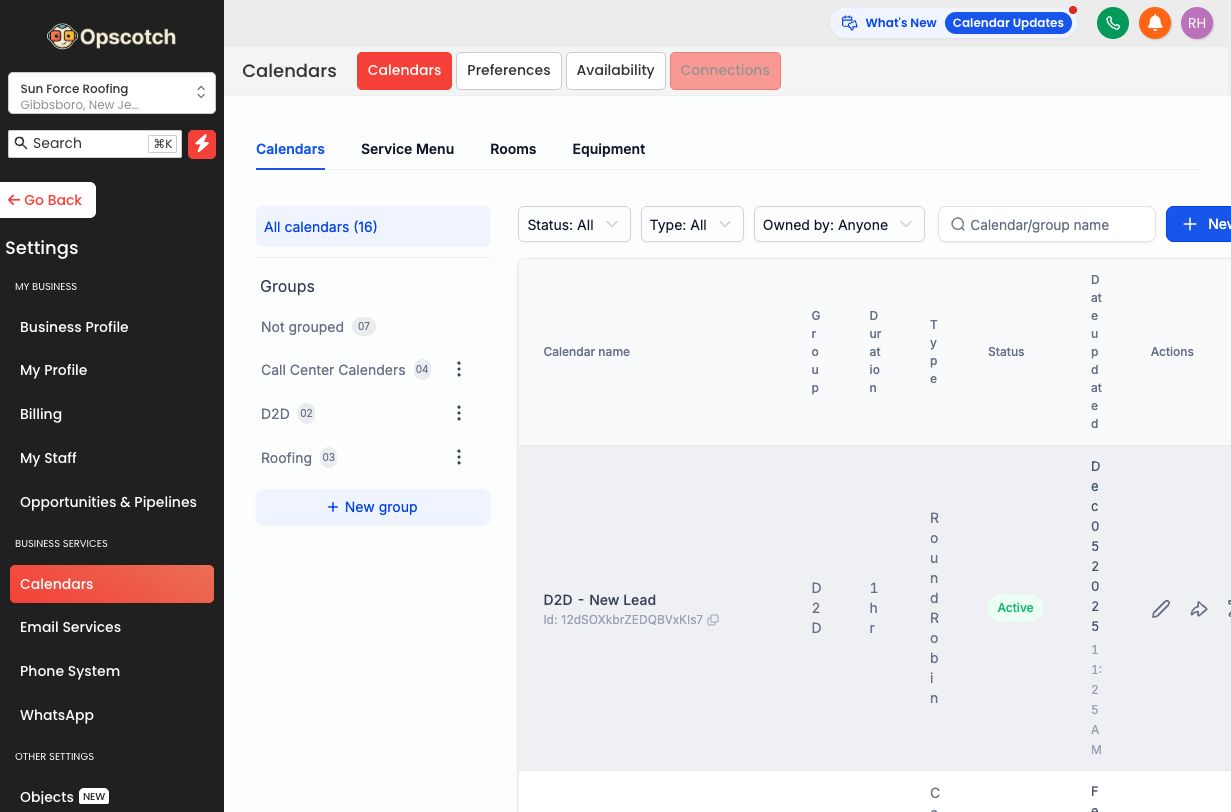
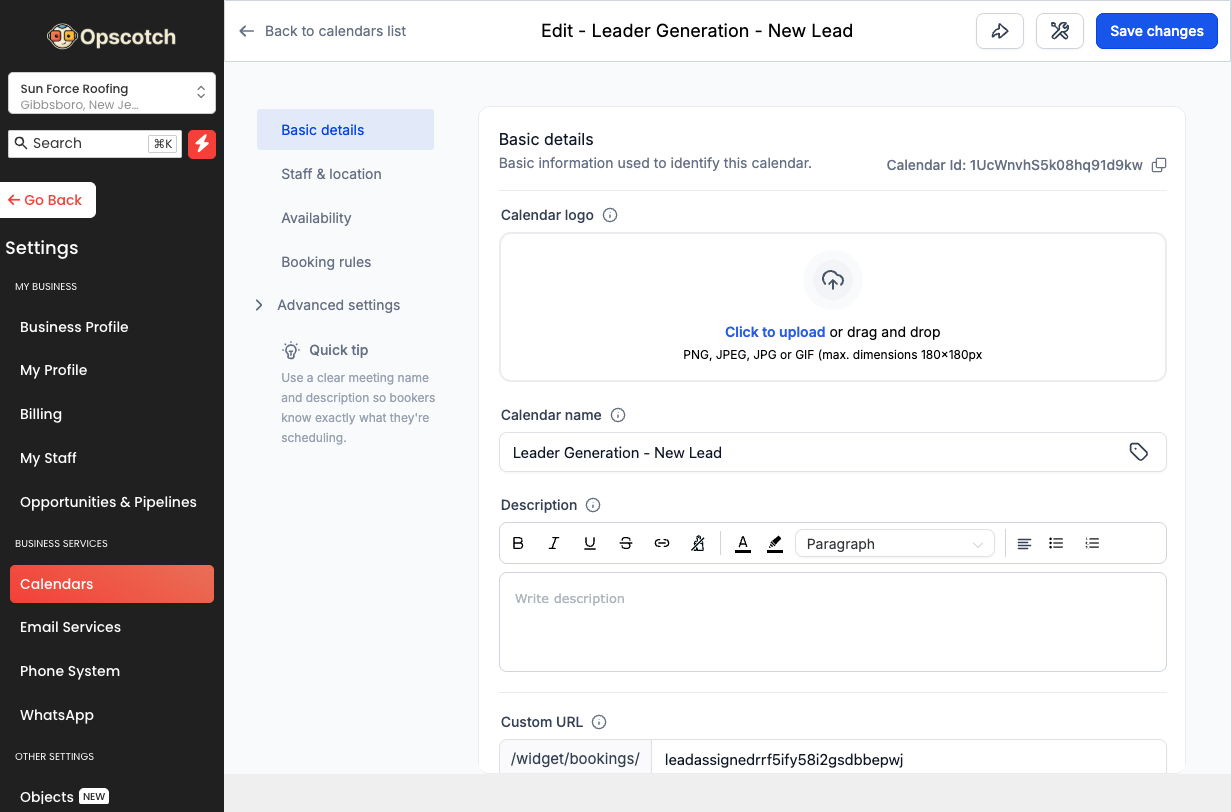
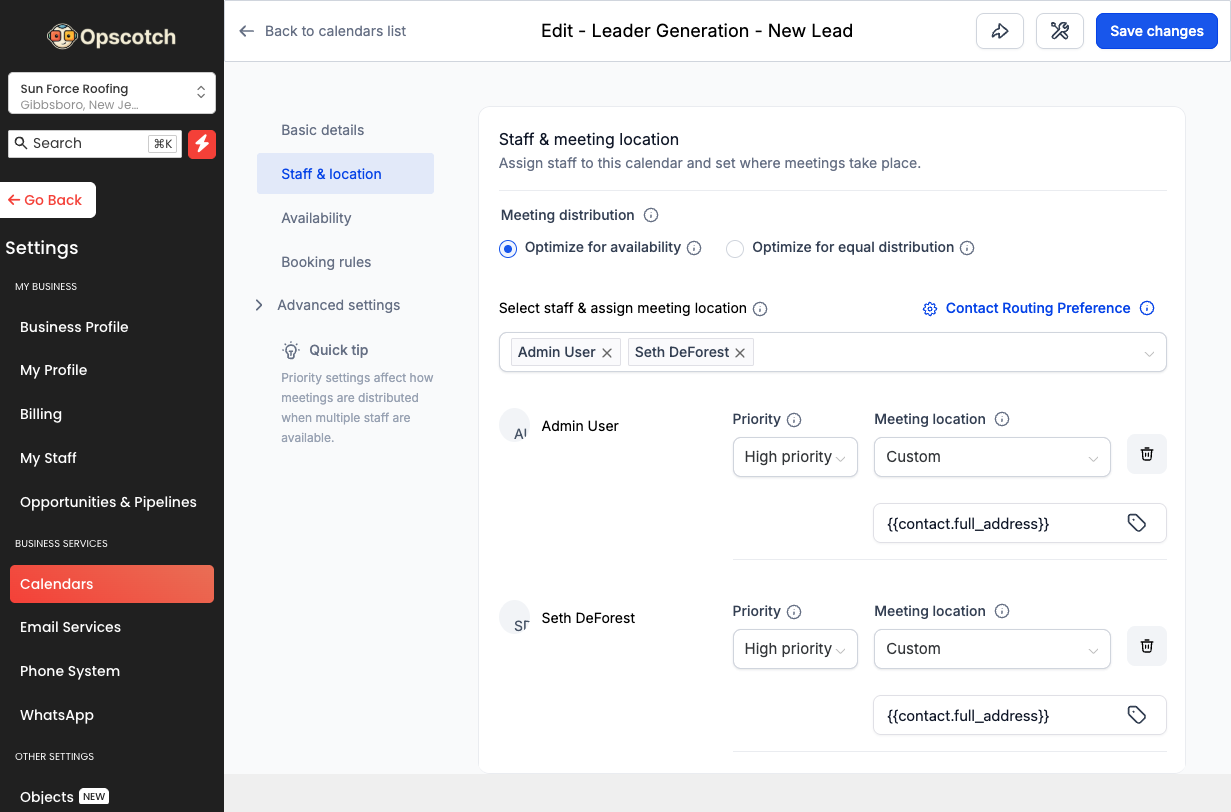
Adding People to a Calendar
Managing existing calendars and creating new ones
Use this when adding a new rep to an existing calendar (like the round-robin) or creating a new calendar.
Same steps — in Team Members section, click X or Remove next to their name, then Save.
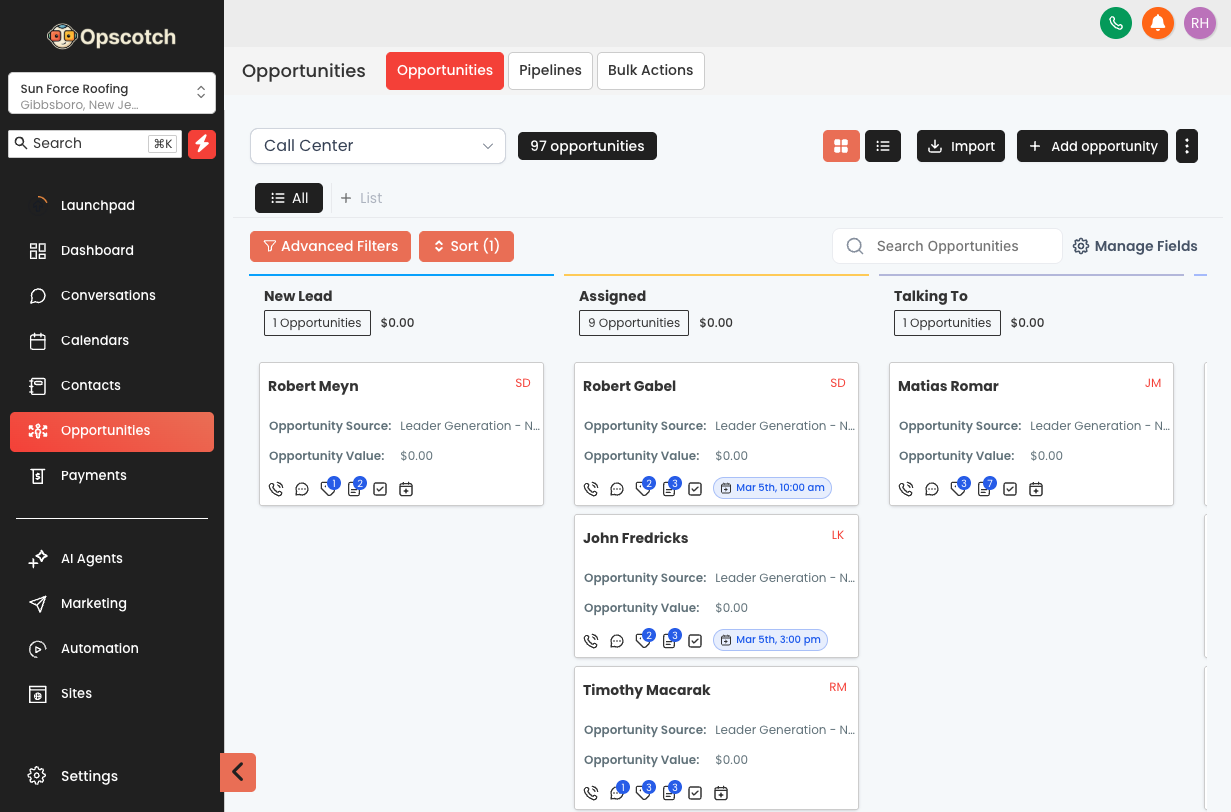
Pipeline Permissions
Who can see what — and how to change it

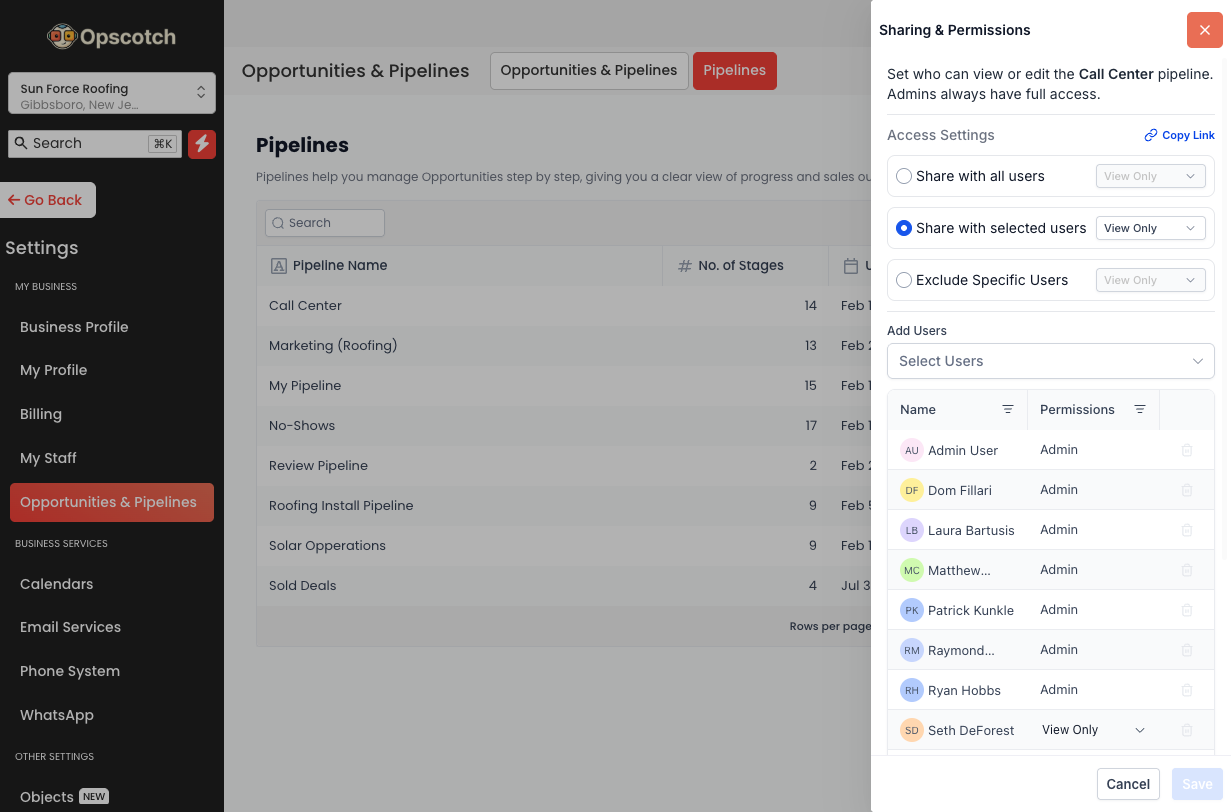
Pipeline permissions control whether a rep can see the Opportunities board and what they can do with leads there. By default, new users have no pipeline access — you have to turn it on.
Quick Reference
Common tasks and where to find them
Social Media Planner
How to create, schedule, and manage posts across Facebook, Instagram, and more
Overview
The Social Planner lets you create and schedule posts for Facebook, Instagram, LinkedIn, Google Business, and more — all from one place inside Opscotch. You can post immediately, schedule for later, or set up recurring posts on a weekly or monthly cadence.
Connected Accounts
Before posting, the social accounts (Facebook Page, Instagram Business, etc.) need to be connected. This is a one-time setup done by Dom or an admin. Once connected, you’ll see them available when composing any post.
Creating a New Post
Publishing Options
Scheduling a Post
Managing Scheduled Posts
All scheduled posts appear in the calendar view. You can drag and drop to move them, click any post to edit or delete it, or switch to list view to see everything at once.
Quick Tips